


Connect ClickSend to Cursor using an MCP server. Once set up, you can use ClickSend tools – like sending SMS – directly inside Cursor's Chat and Agent sessions.
Cursor supports MCP servers via an mcp.json file. You can set this up per-project or globally.
Prerequisites
-
A ClickSend account: you need an active account to send SMS. If you don't have one, sign up for free.
-
Cursor IDE installed: make sure you are running a recent version of Cursor that supports Model Context Protocol (MCP) servers (v0.40+ recommended).
-
Node.js & npm (v18+): the installation command uses npx to fetch and run the ClickSend server. You must have Node.js and npm installed globally on your system. You can verify this by running:
node -v && npm -v
Installation
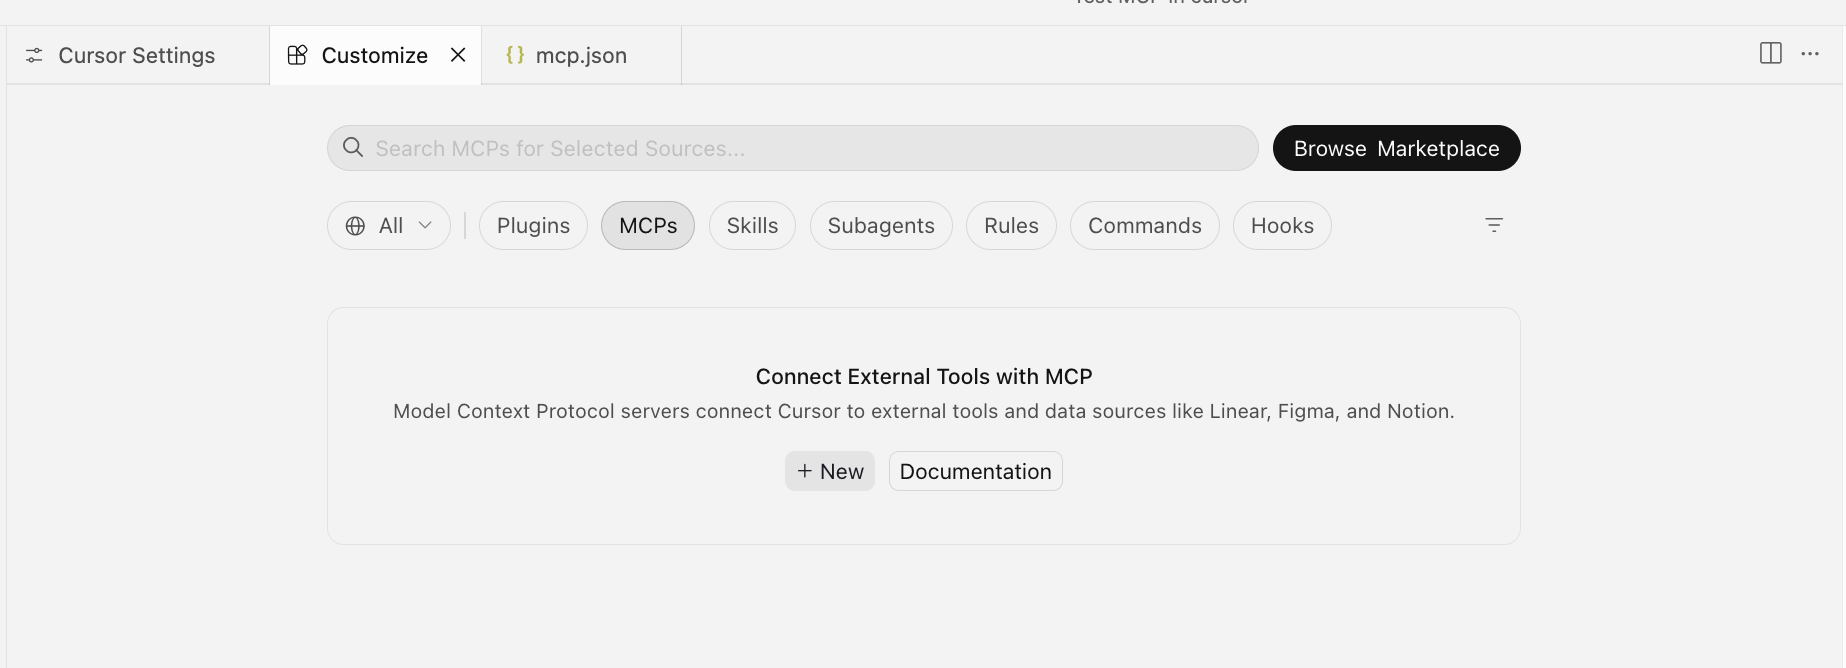
Step 1: Open or create the config file
Choose the path that suits your setup:
-
Project-level:
<project-root>/.cursor/mcp.json -
Global:
~/.cursor/mcp.json
Step 2: Add the ClickSend server entry
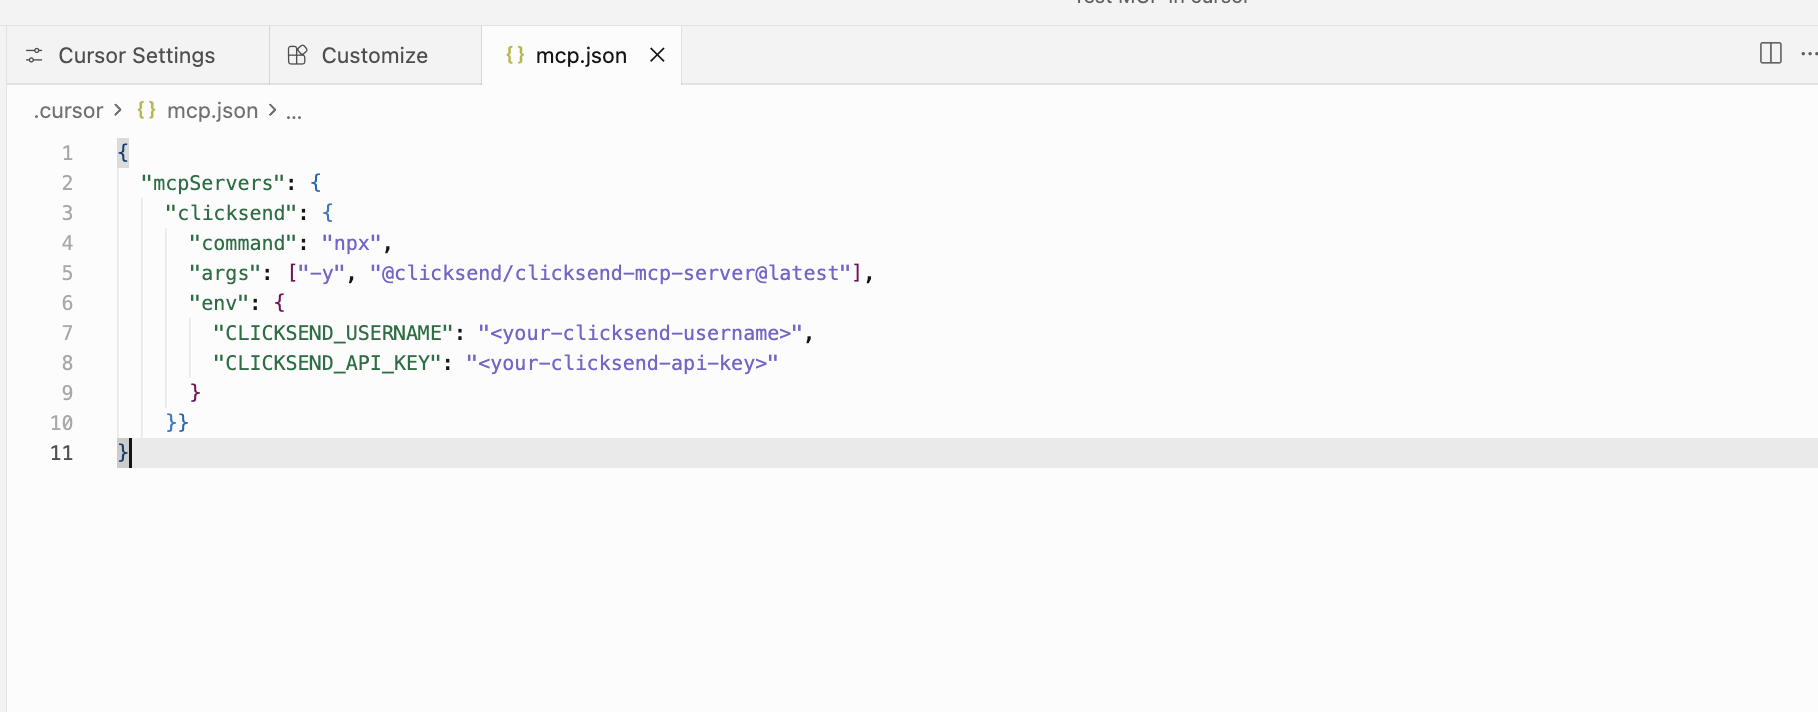
Paste the following into your config file:
{
  "mcpServers": {
    "clicksend": {
      "command": "npx",
      "args": ["-y", "@clicksend/clicksend-mcp-server@latest"],
      "env": {
        "CLICKSEND_USERNAME": "<your-clicksend-username>",
        "CLICKSEND_API_KEY": "<your-clicksend-api-key>"
      }
    }
  }
}
Step 3: Save and restart Cursor
Save the file, then restart Cursor. You can also reload the window instead.
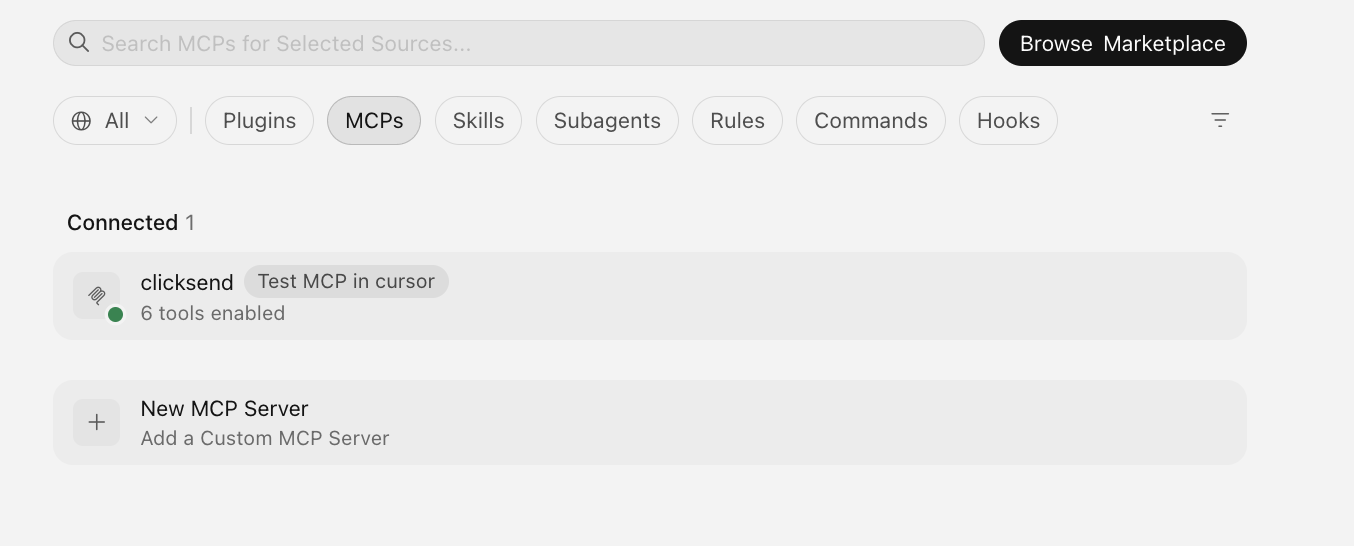
Step 4: Confirm the server is active
Go to Settings → MCP and check that the clicksend server shows a green/active status.
Step 5: Test the connection
Open a Cursor Chat or Agent session and ask it to use a ClickSend tool — try something like: "Send a test SMS to +6112345678".
FAQs
Is there a limit to how many MCP tools I can load in Cursor? +
Yes. Cursor currently caps active tools at 80. If you're running multiple MCP servers at once, you may hit that ceiling. To free up space, head to Cursor's MCP settings and temporarily disable any servers you're not using – that should give your ClickSend server room to run.
Why is my ClickSend MCP server showing a red dot (inactive) in Cursor? +
A red dot usually means a configuration or credential error. Here's what to check:
Double-check that your
CLICKSEND_USERNAMEandCLICKSEND_API_KEYare correct – even a single misplaced character will break the connection.Make sure
npxis installed on your machine. It comes bundled with Node.js, so installing Node.js should cover it.If you're on a restricted network, check that your firewall or proxy isn't blocking outbound requests to ClickSend's APIs.
What's the difference between global and project-level MCP setup? +
Global (
~/.cursor/mcp.json): Loads the ClickSend SMS tools across every project you open in Cursor. Use this if you want SMS capability available in your AI assistant at all times, regardless of what you're working on.Project-level (
.cursor/mcp.json): Limits the SMS tools to one specific project folder. This works well when you're building an app that integrates ClickSend and you don't want to eat into your tool limit in unrelated projects.
I added the server to mcp.json, but Cursor's AI says it can't find the SMS tools. How do I fix this? +
A couple of things to try:
Reload Cursor: Changes to mcp.json don't always apply automatically. Open the Command Palette (
Cmd/Ctrl + Shift + P), run "Developer: Reload Window", or restart Cursor entirely.Check the MCP toggle: Go to
Cursor Settings>Features (or Tools)>MCPand confirm that "Enable MCP Servers" is switched on.
Still stuck? Reach out to the ClickSend support team or open a live chat and we'll help you get sorted.
